PRODUCTION CHECKLIST
33 Things To Do To Avoid Problems In Post
Here are a bunch of really important things that MOST new and smaller budget filmmakers often overlook or don’t know that cause issues later in post. Have your team review these basic production standards to ensure you have a great production - and…make our job a little easier in post too!
Do These Things For Best Picture/Audio Quality In Post:
1. Custom white balance each camera after every lighting change even if minor. Point the cameras toward the subject with a white or 18% grey card under the shooting light and measure. If the cameras are moved to a new angle balance them again. Never ever use AUTO WHITE BALANCE. If you must, use a preset white balance because they are consistent.
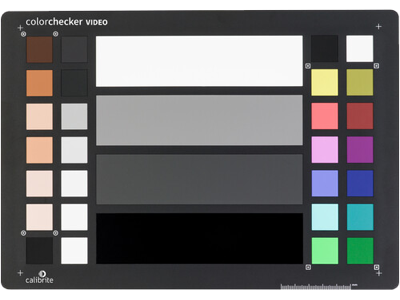
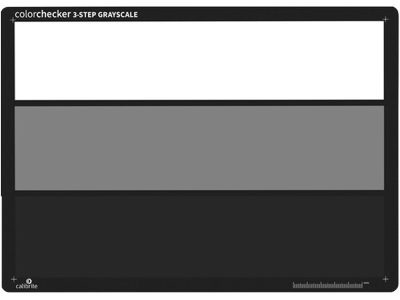
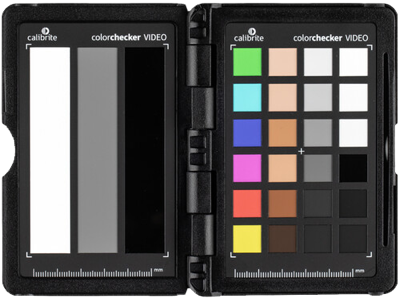
2. Shoot a color and greyscale chip chart, like the ones shown below. This is very important, and must be done every time a light is changed or a camera angle is changed, even under the same light. This is VERY IMPORTANT and must be done if you want accurate matching of footage in the post color grade. It is so worth the extra time. Click Images To Buy.
3. Never use auto exposure, use Manuel exposure instead. Set the exposure level by using the zebra pattern or blinking highlight over-exposure indicator of the camera by pointing the camera at a white card and making the exposure sit just slightly under the zebras or blink. (Use the white on the center card above for this.)
4. Never use Auto ISO. Look up the native ISO for your camera and use it when shooting. If the camera has Dual Gain, use those native ISO settings directly, but not under or over the native ISO if possible, this will give the best noise results and dynamic range. Shoot the native ISO that best works with your camera’s LOG or RAW profile - this is a must for good clean footage.
5. Use variable ND filters in bright outdoor conditions.
6. Turn off camera sharpening. Nothing is worse than over sharpened video when you are going for the “Film Look”. Shoot without camera sharpening so the sharpening can be controlled later in post.
7. Turn off camera noise reduction. It makes the video soft and mushy. Let post handle video noise reduction.
8. Lower the camera’s color & contrast setting to 50%, or, less is even better. Mute colors and flatten contrast so they are not too saturated, the colors can be adjusted later in post.
9. Shoot at a 180 degree shutter if your camera has that advanced setting, or, use a 48th or 50th of a second shutter speed when shooting at 23.976 (24) frames a second. Do not shoot for a film look at 30 or 60 FPS, it won’t look right.
10. Use 23.98/23.976 over 24 frames a second if possible, it is the most popular frame rate. Make sure that audio is recorded at the same frame rate if recording audio separately.
11. Correctly set your timecode and slate properly so the audio will sync correctly in post.
12. Don’t use a LUT or shoot in REC709 when you record your footage, shoot in a flat profile or LOG for the best results in the color grade stage. No, the footage will not look good at first, it is not supposed to, but it will look great after grading.
13. In most cases it is better to shoot in LOG than RAW, (especially not ProRes RAW, it is very limited) - but the exception is BRAW which is easy to manage on set and in post. In LOG, cameras add some useful lite processing to the LOG footage, (but not RAW footage), things like lens distortion correction and chromatic aberration correction.
14. Use the fastest SD or CF Memory card or whatever media your camera uses, or record directly to an SSD, that is even better if your camera has the ability to do so.
15. Shoot the highest data rate, codec and bit depth your camera can to make large clean files. If your camera can shoot in 10-bit 4:2:2 ProRes that is great, if your camera can’t shoot that, just find the highest setting your camera has, usually h.264, but try to avoid h.265, it can be troublesome at times. If you can shoot in an all I-Frame codec that would be great!
16. Go through all camera menus and synchronize the cameras together by making sure all settings are the same when you are doing a Multicam shoot so the footage matches from camera to camera. And use the same type of camera and lenses. This step should not be overlooked.
17. Use manual focus because auto focus can shift and lose focus from time to time. But, auto focus is okay when using single touch auto focus; it is faster and more accurate than by hand in most cases. Set a button that only focuses when you press it, and press it while aiming at a person’s face before each shot. Try to assign it to a different button than the shutter release button. Turn the shutter release button auto focus off so it is not active when you need to press it to start recording. Sometimes continuous auto focus is okay for some shots, on some cameras, in some situations where it is difficult to focus quickly, you may have to take your chances at times.
18. Watch out for shooting towards uncovered windows in the daytime or shooting strong backlights. Also, watch out for highly reflective surfaces like glass or mirrors. If shooting through glass or car windows, use a polarizing filter to cut through the glass reflections and glare so it is not distracting.
Things To Do For Best Audio Quality In Post:
19. Never use auto audio levels. Set your levels manually. Keep your levels around the area where the green turns to yellow, which is around -12db to -18db for best audio levels for post. Avoid going above -6db to avoid clipping and distortion, never let your audio meters go into the red or let the meters hit “0 db” as that is clipped and at distortion level.
20. Always record audio at 48kHz/24-bit that is the standard (not 41.1kHz/16-bit which is for audio CDs). 48kHz/24-bit is the absolute standard for TV, film and any cinema audio because of it's extended dynamic range, the depth of it's sound stage and subtle details it offers from the extra bits.
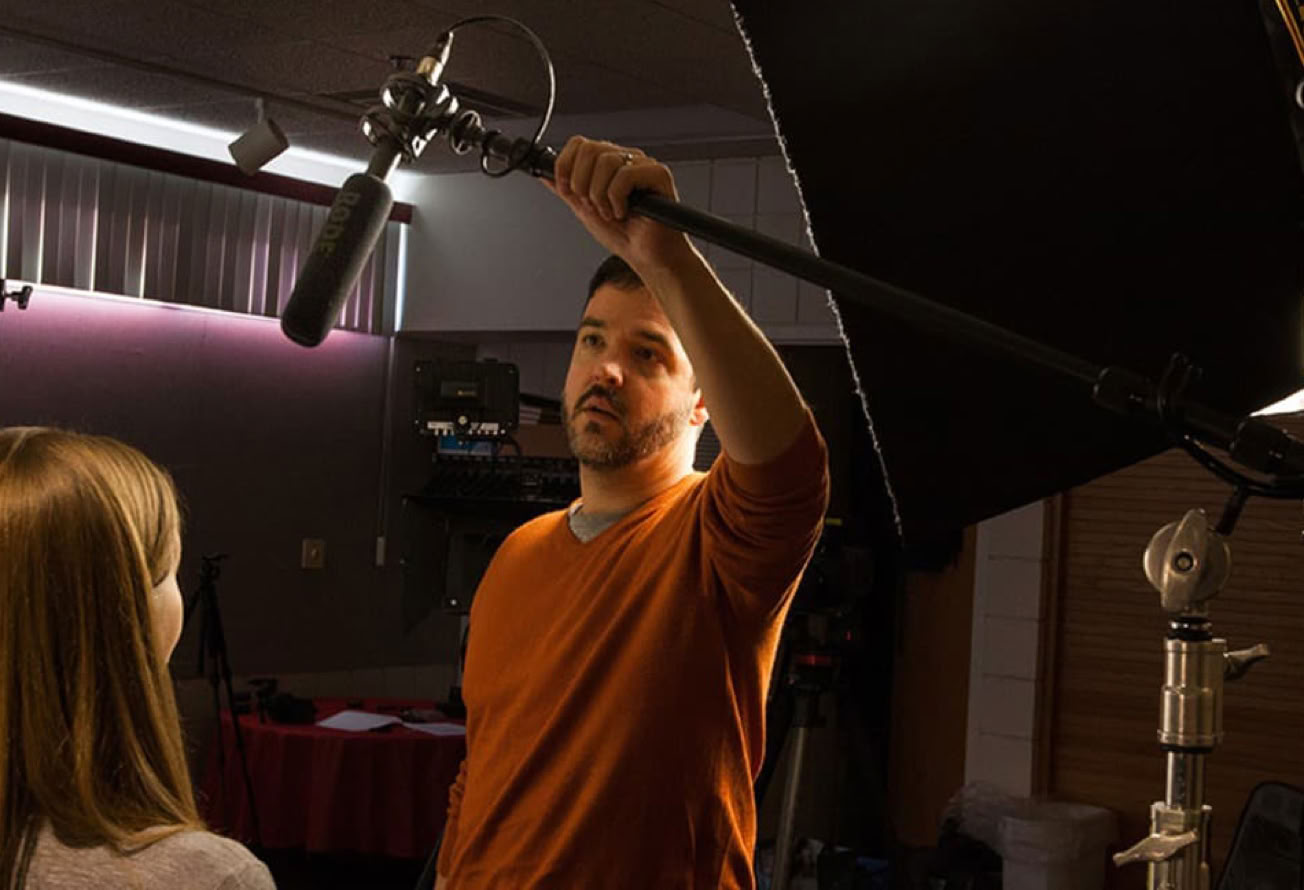
21. In a static shot where the subject is not moving or walking, it is okay, and often better, to hang the mic boom pole from a stand with a pole holder to cut down on noise.
22. Mic placement should be 12”-36” from subject, just out of view of the camera, 18”-24” is the sweet spot. The mic should be above them, pointed down below the mouth, and slightly in front of them for best sound quality. By not pointing directly at the mouth, you cut down on hard “S” sounds and breaths. Do not put the shotgun mic on the camera and point it towards the talent from far away, that will deliver horrible audio with too much room sound, but, it can be okay to put the mic on the camera in very close situations of around 2 feet or so in some situations.
23. Don’t move or swing the mic too fast or you will get wind noise, and avoid moving your hands on the boom pole while recording as you can hear hand noise. Use a dead cat in wind!
24. When wearing a Lav mic, make sure the talent doesn’t touch their chest, as this will make a loud thump or clothing rustle that will not be able to be removed in post in some cases, ruining the audio. If you see or hear it happen, reshoot the take again to get good clean audio.
25. Listen for nosies that will end up in your recordings and try to avoid them. If you can hear it, the mic can hear it better.
26. Do not let the talent wear dangly earrings or clicky bracelets as their sound will enter into the audio and ruin it. Noisy jewelry is a big problem for audio and just not worth it.
27. DON’T RECORD EXTRA AUDIO TRACKS that are redundant or empty, it is a hassle cleaning them up in post, only record the tracks you need. Do not record tracks that will not be used!
28. Recording audio to camera directly is a great option if the camera has XLR inputs and good preamps. For instance, the Panasonic Lumix cameras have extraordinary preamps in their XLR audio adapter, and their newer adapters even allow you to record pristine 32-bit Float audio directly to the video footage, and there is no reason at all to record second system audio which saves time and complexity, and removes the risk of some potential errors.
29. If recording separate audio, use a high quality audio recorder like this new affordable 32-bit recorder from Zoom.
30. In a room with a lot of hard surfaces, it will be very ambient and have an echo, and have very poor sonic qualities. So for this reason it will be important to lay sound brackets wherever you can out of the sight of the camera. This makes a big difference to the audio quality and should not be overlooked.
What You Need To Bring Us To Begin A Post Job:
31. Only use fast SSD drives, never use or bring a spinning hard drive into post. Spinning HDs are unreliable and slow causing bottlenecks and problems that are easy to avoid by starting off with a quality SSD that won’t fail under stress.
32. Supply us with an accurate version of the script and any other production related notes you may have.
33. Have samples of what you want final color to look like when the project is finished with it’s color grading.
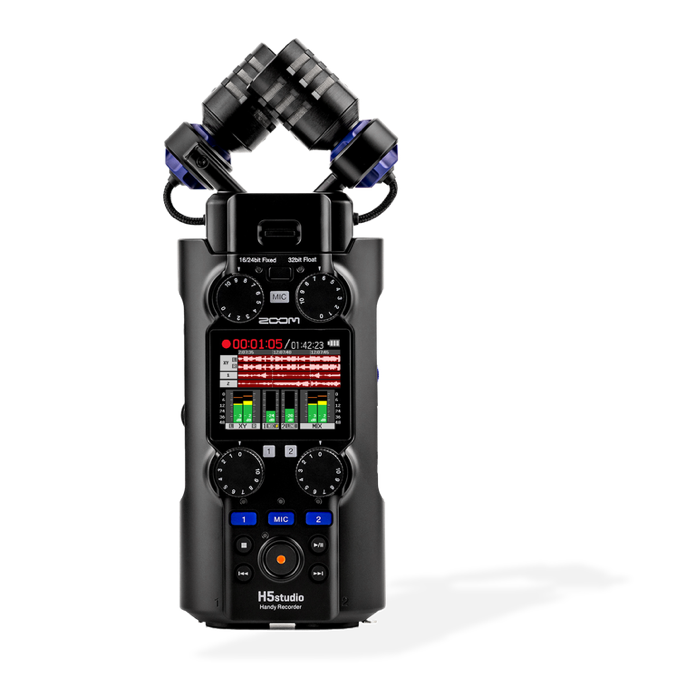
New Zoom H5 Studio
32-bit Float audio recorder with 4 inputs, built in high quality mics, timecode, exchangeable mic capsules, great preamps, and too many great features to list - plus it is easy to use…
and ONLY
$349.99
High Quality Production Standards Are A Must!!
There are reasons for established standards and practices, and they are not that hard, nor do they add much time or cost to a production. But if not followed, they can make post pure hell.
Make post a breeze by following the above guidelines.
We also provide on set production consultation service,
equipment advice and training, and pre-post production consultation services.
Renowned Filmmaker Tim Alexander takes you into NAB 2026
to show you the Latest & Best Gear to use on your Productions!
VIDEO GROUP 1 - STORAGE DEEP DIVE
A MUST VIEW section on everything you need to know about storage
Seagate has the BIGGEST SINGLE HARD DRIVE I have ever seen in my life!
OWC (Other World Computing) had some CRAZY FAST drives on show!
Facilis Technology is a top tier media file transfer service & online storage
Sonnettech has great innovative SSD drive & Thunderbolt dock solutions
Promise Technology had mind blowing never-before-seen SSD Drives!
Western Digital who now owns G-Drives did not disappoint this year!
Pro Grade showed off a number of MUST HAVE storage & accessory items
Sandisk wasn’t playing this year, they dropped some very serious speed!
VIDEO GROUP 2 - PRO AUDIO DEEP DIVE
Great Info to select your Shotgun Mics, Wireless Mics & Recorders
Sennheiser is my top choice in a Shotgun Mic- it has the Hollywood Sound!
Sanken makes Unique Handmade Shotguns & LEGENDARY LAV MICS!
Rycote is know as the BLIMP COMPANY, and now also a Mic Company!
Deity has sound gear that represents the best value & quality at it’s price!
Check Back - A LOT MORE VIDEOS
covering many other areas will be added to this page SOON!